Add a Filevine credential
Get a Client ID, Client Secret, and Personal Access Token from Filevine, then add the credential in VineMerge.
Connecting Filevine to VineMerge is a two-sided task. First you collect three values from Filevine — a Client ID, a Client Secret, and a Personal Access Token (PAT). Then you paste them into VineMerge's Add Credential dialog and let VineMerge verify the connection.
If you've ever copied an API key from a vendor portal into a tool like Zapier, the shape of this is familiar. The twist is that Filevine uses three values, because it separates app identity (Client ID + Secret) from user identity (PAT).
Part A — Get credentials from Filevine
These steps happen in Filevine's developer portal, not in VineMerge. Filevine occasionally adjusts its UI, so screen labels may differ slightly from what's shown here. If anything looks off, check Filevine's official documentation for the current path.
1. Sign in to the Filevine developer portal
Open Filevine's developer portal and sign in with an account that has admin rights on the org you want to connect.


2. Create a new app
Create a new application — this is what produces your Client ID and Client Secret. Give it a recognizable name (e.g. VineMerge — [Your Firm]).


3. Copy the Client ID and Client Secret
The portal displays the new app's Client ID and Client Secret. Copy both into a temporary scratchpad — you'll paste them into VineMerge shortly.

A few notes:
- Client ID identifies the app and isn't secret — safe to share with support.
- Client Secret is sensitive. Treat it like a password: copy once, store securely, don't email or paste it into chat. Many portals only show the secret at creation time, so capture it now.
- If you lose the secret, you can rotate it from the same screen and update VineMerge afterward.
4. Generate a Personal Access Token (PAT)
The PAT is separate from the app credentials. While the Client ID/Secret tells Filevine which app is calling, the PAT tells Filevine which user the calls are made on behalf of.

Generate the PAT from a dedicated service-account user, not a personal one. Why:
- The integration keeps working if a person leaves the firm.
- Audit logs in Filevine show "VineMerge did this," not "Jane did this at 2 a.m."
- You can rotate the PAT without disrupting anyone's day-to-day Filevine access.
Treat the PAT like the Client Secret: copy, store securely, rotate on your firm's policy schedule.
Part B — Add the credential in VineMerge
Now switch over to VineMerge with your three values in hand.
1. Sign in as an admin
You need permission to create integrations (integration:create) — typically the Owner or an Admin role. If you don't see the Integrations area, ask your org owner to add the permission or complete this step for you.
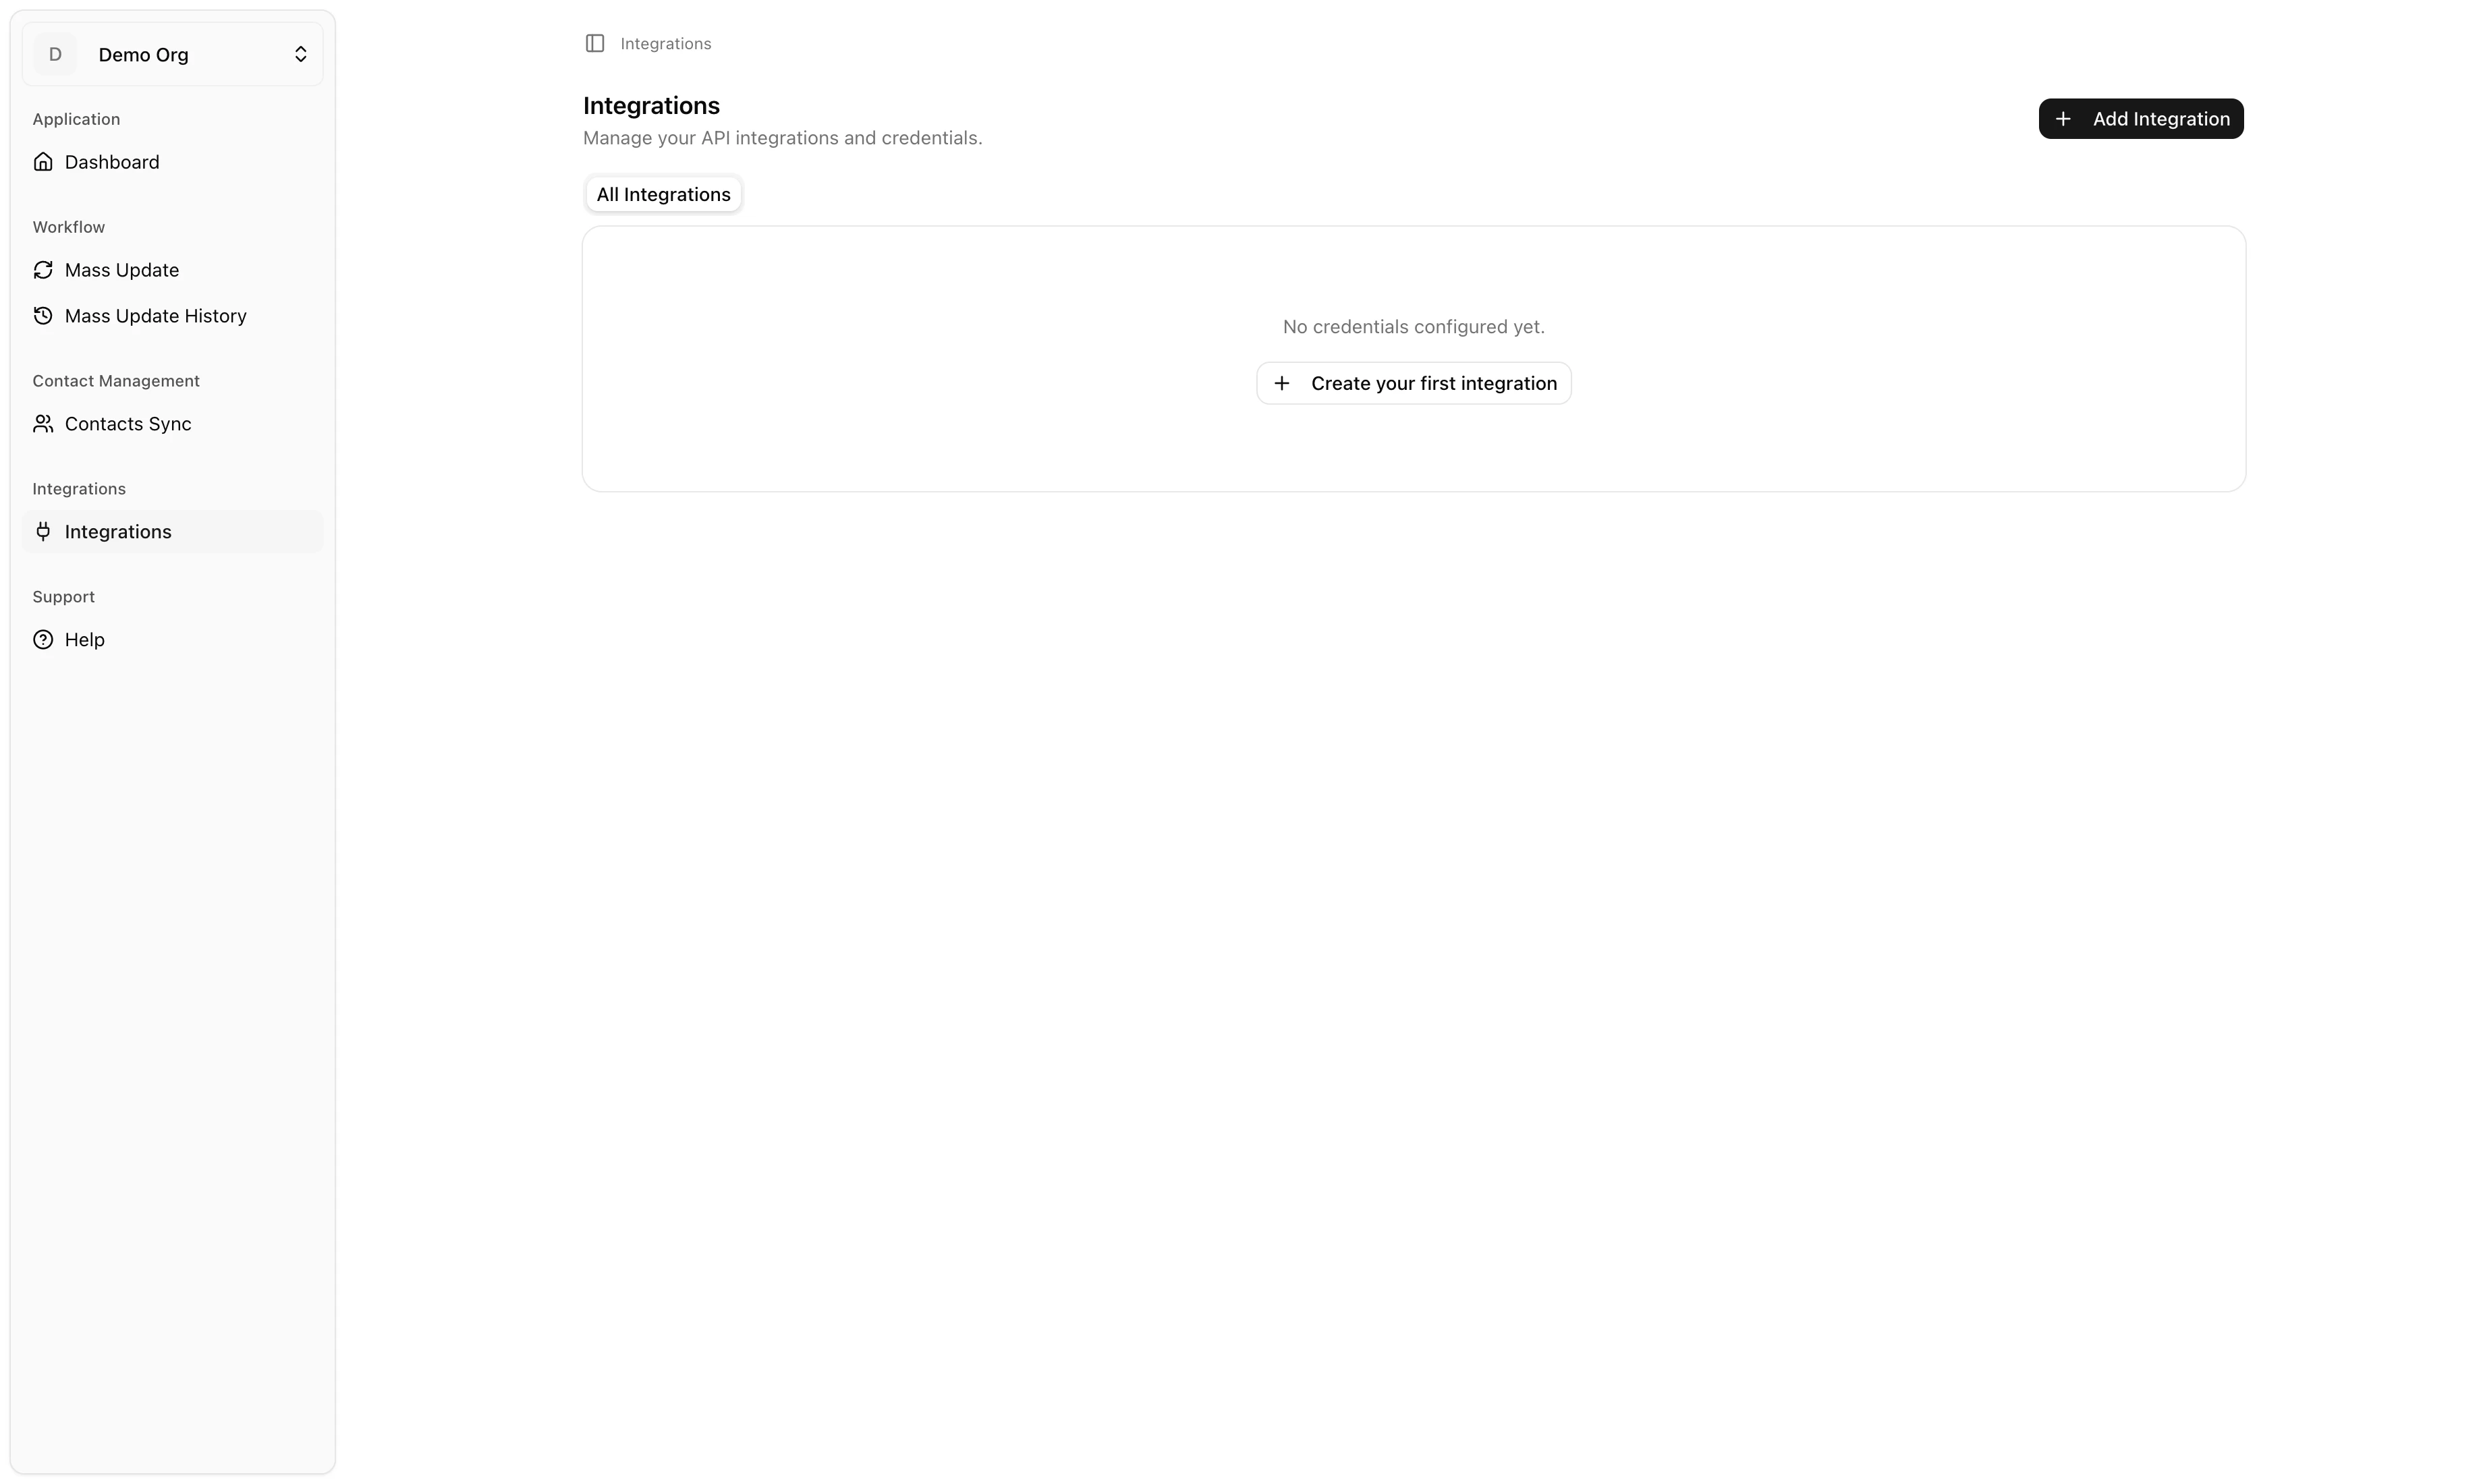
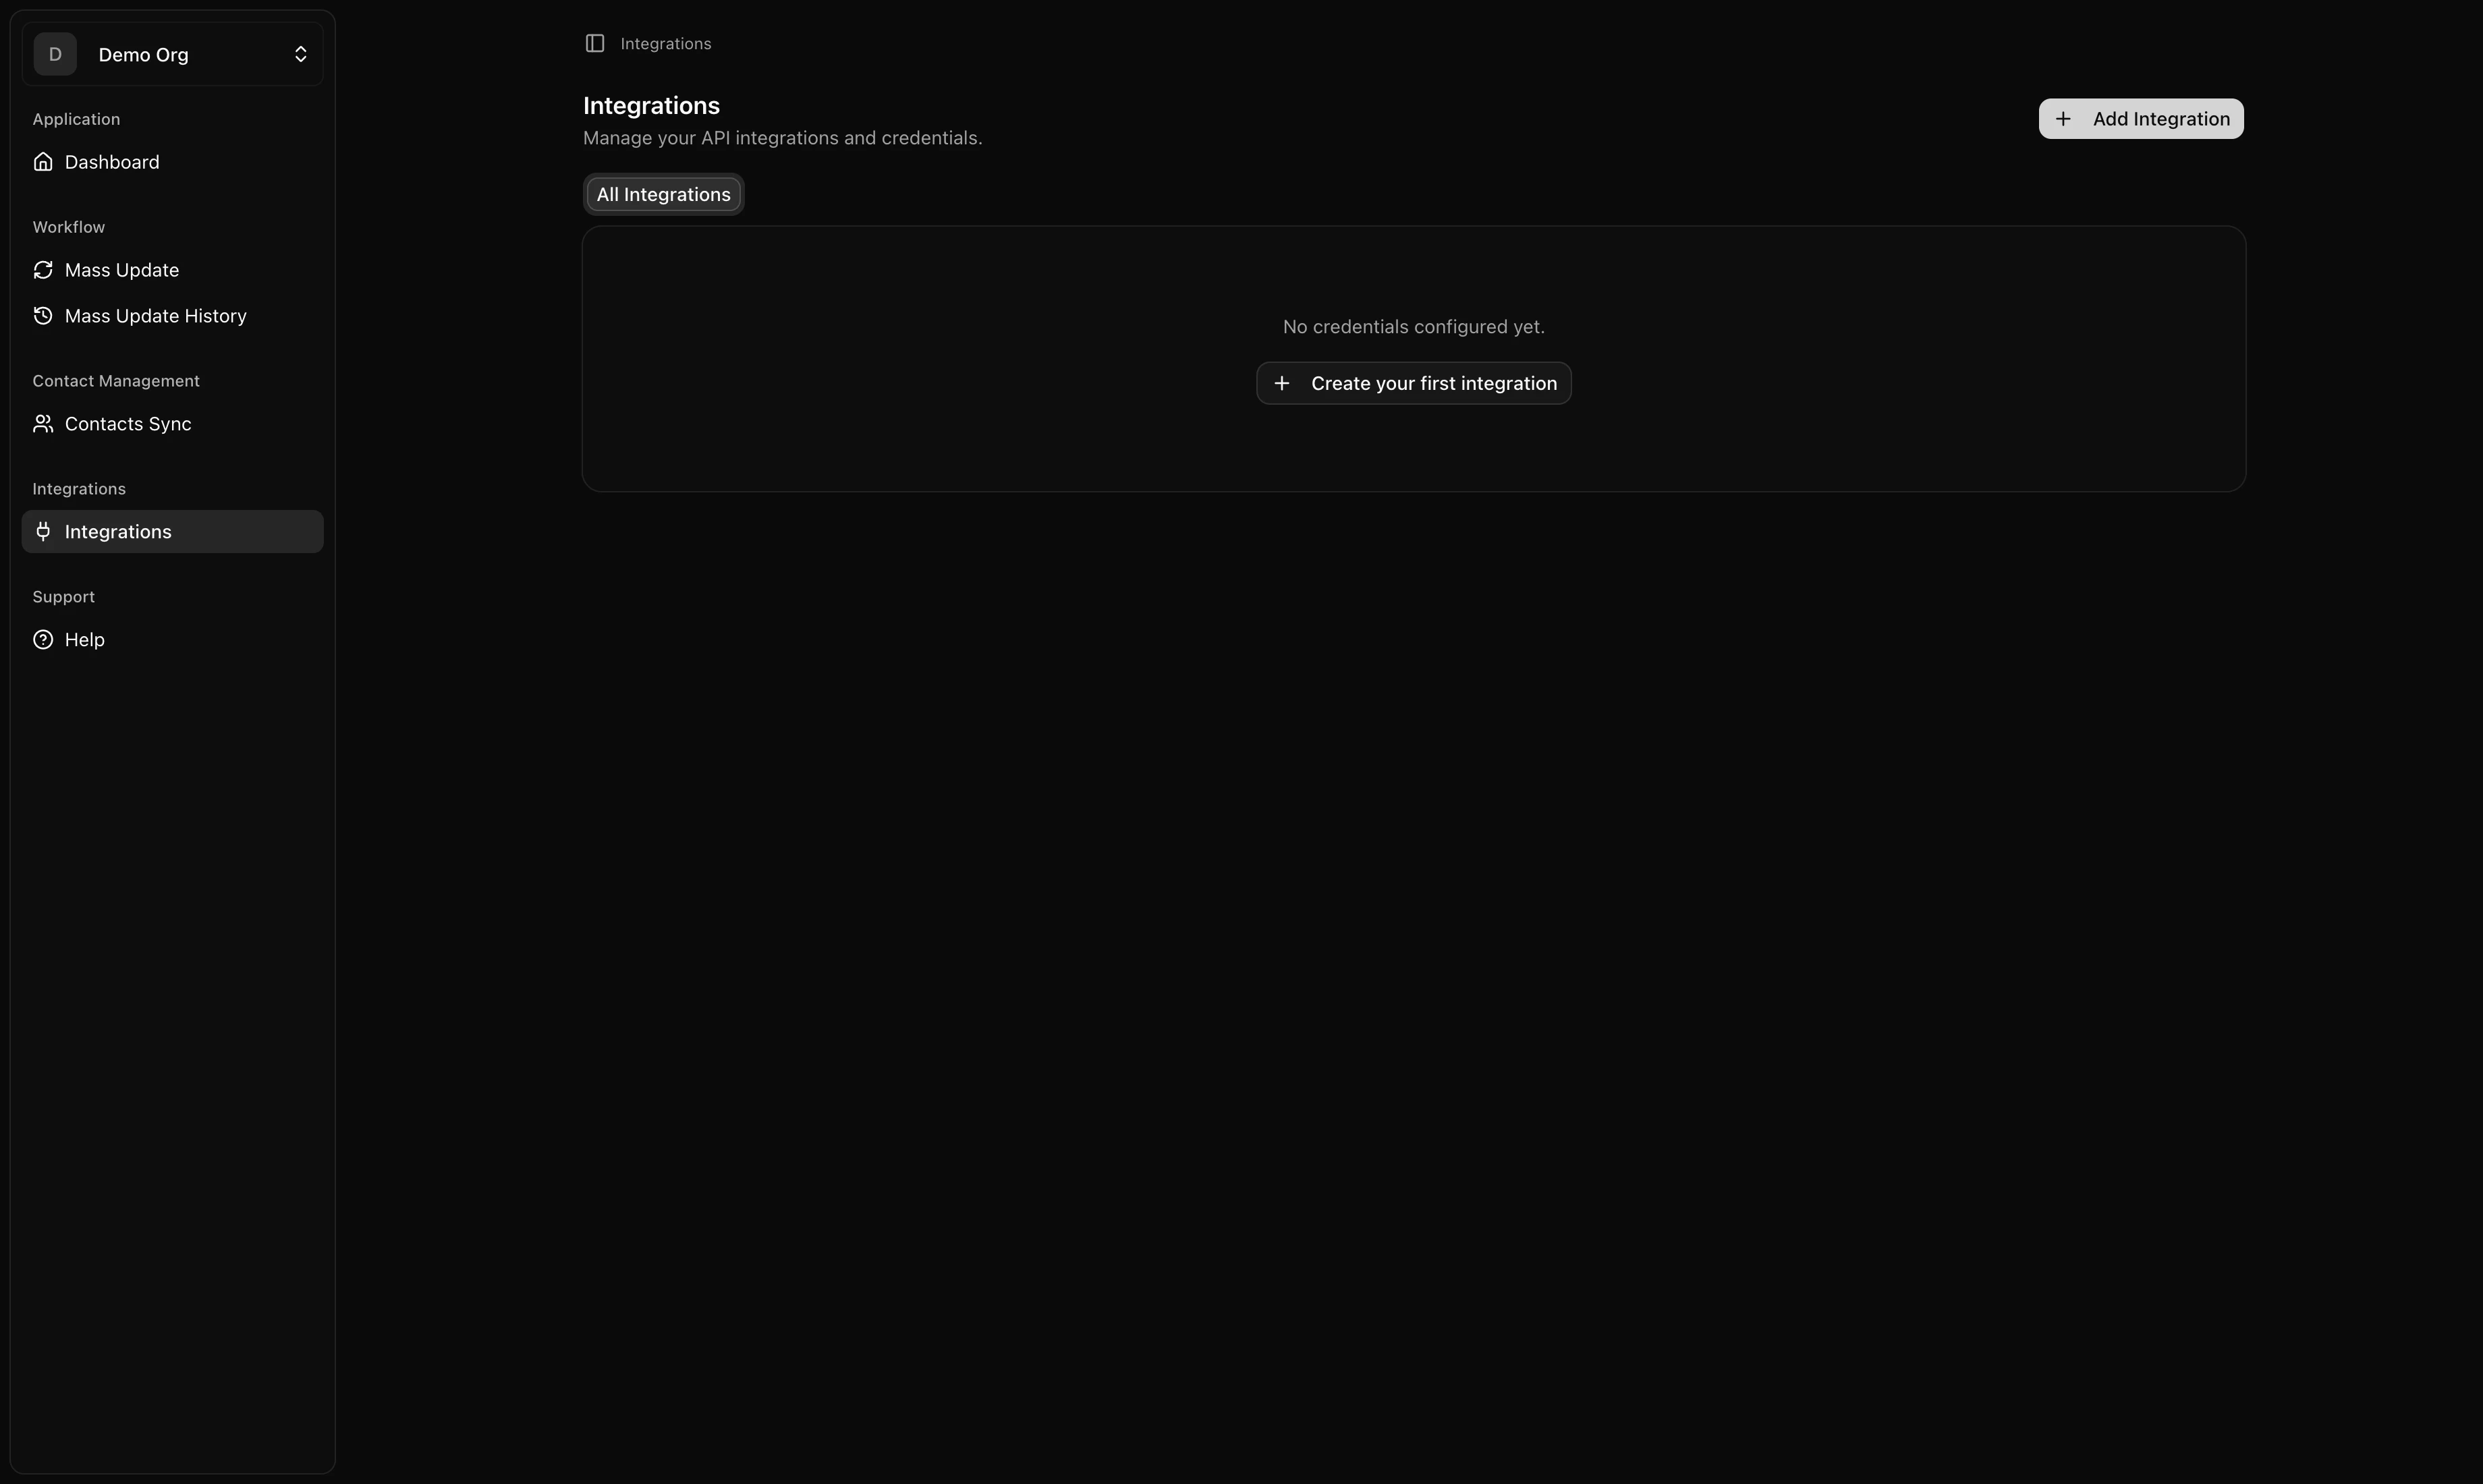
2. Open the Integrations page
From the sidebar, open Integrations. If your org has no credentials yet, the page shows an empty state with a Create your first integration button. Otherwise, existing credentials are listed with an Add Integration button at the top.
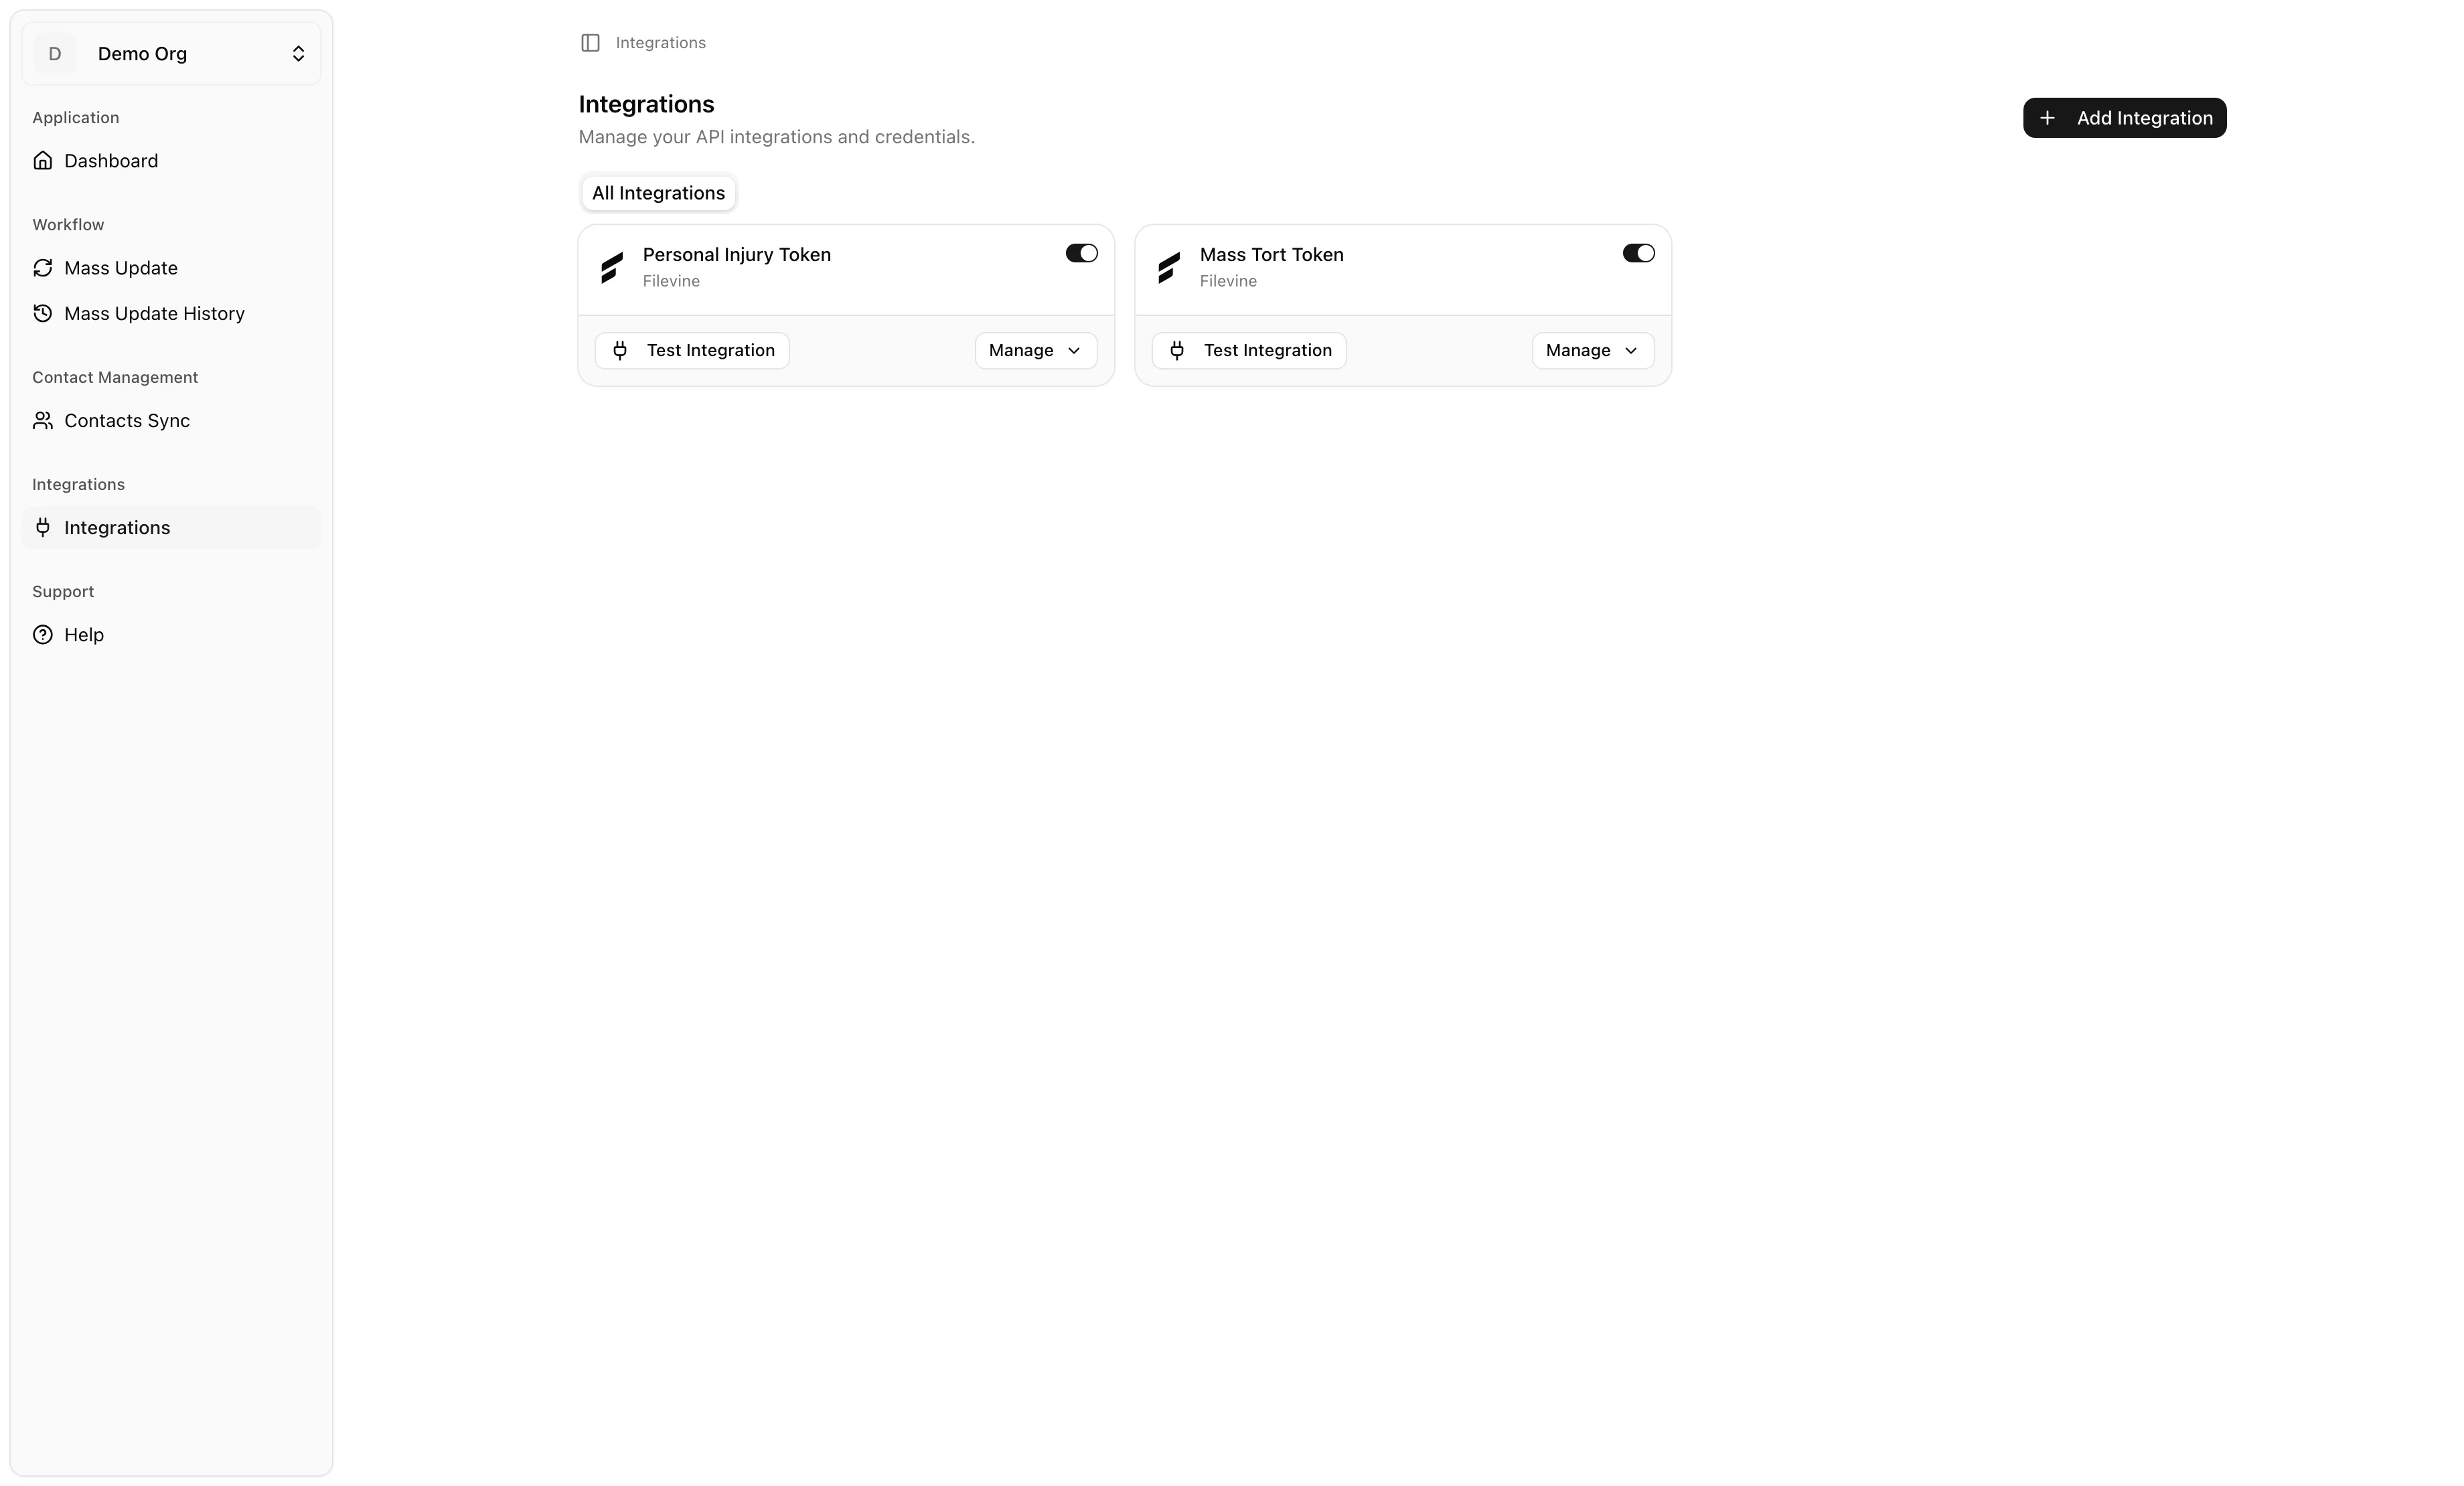
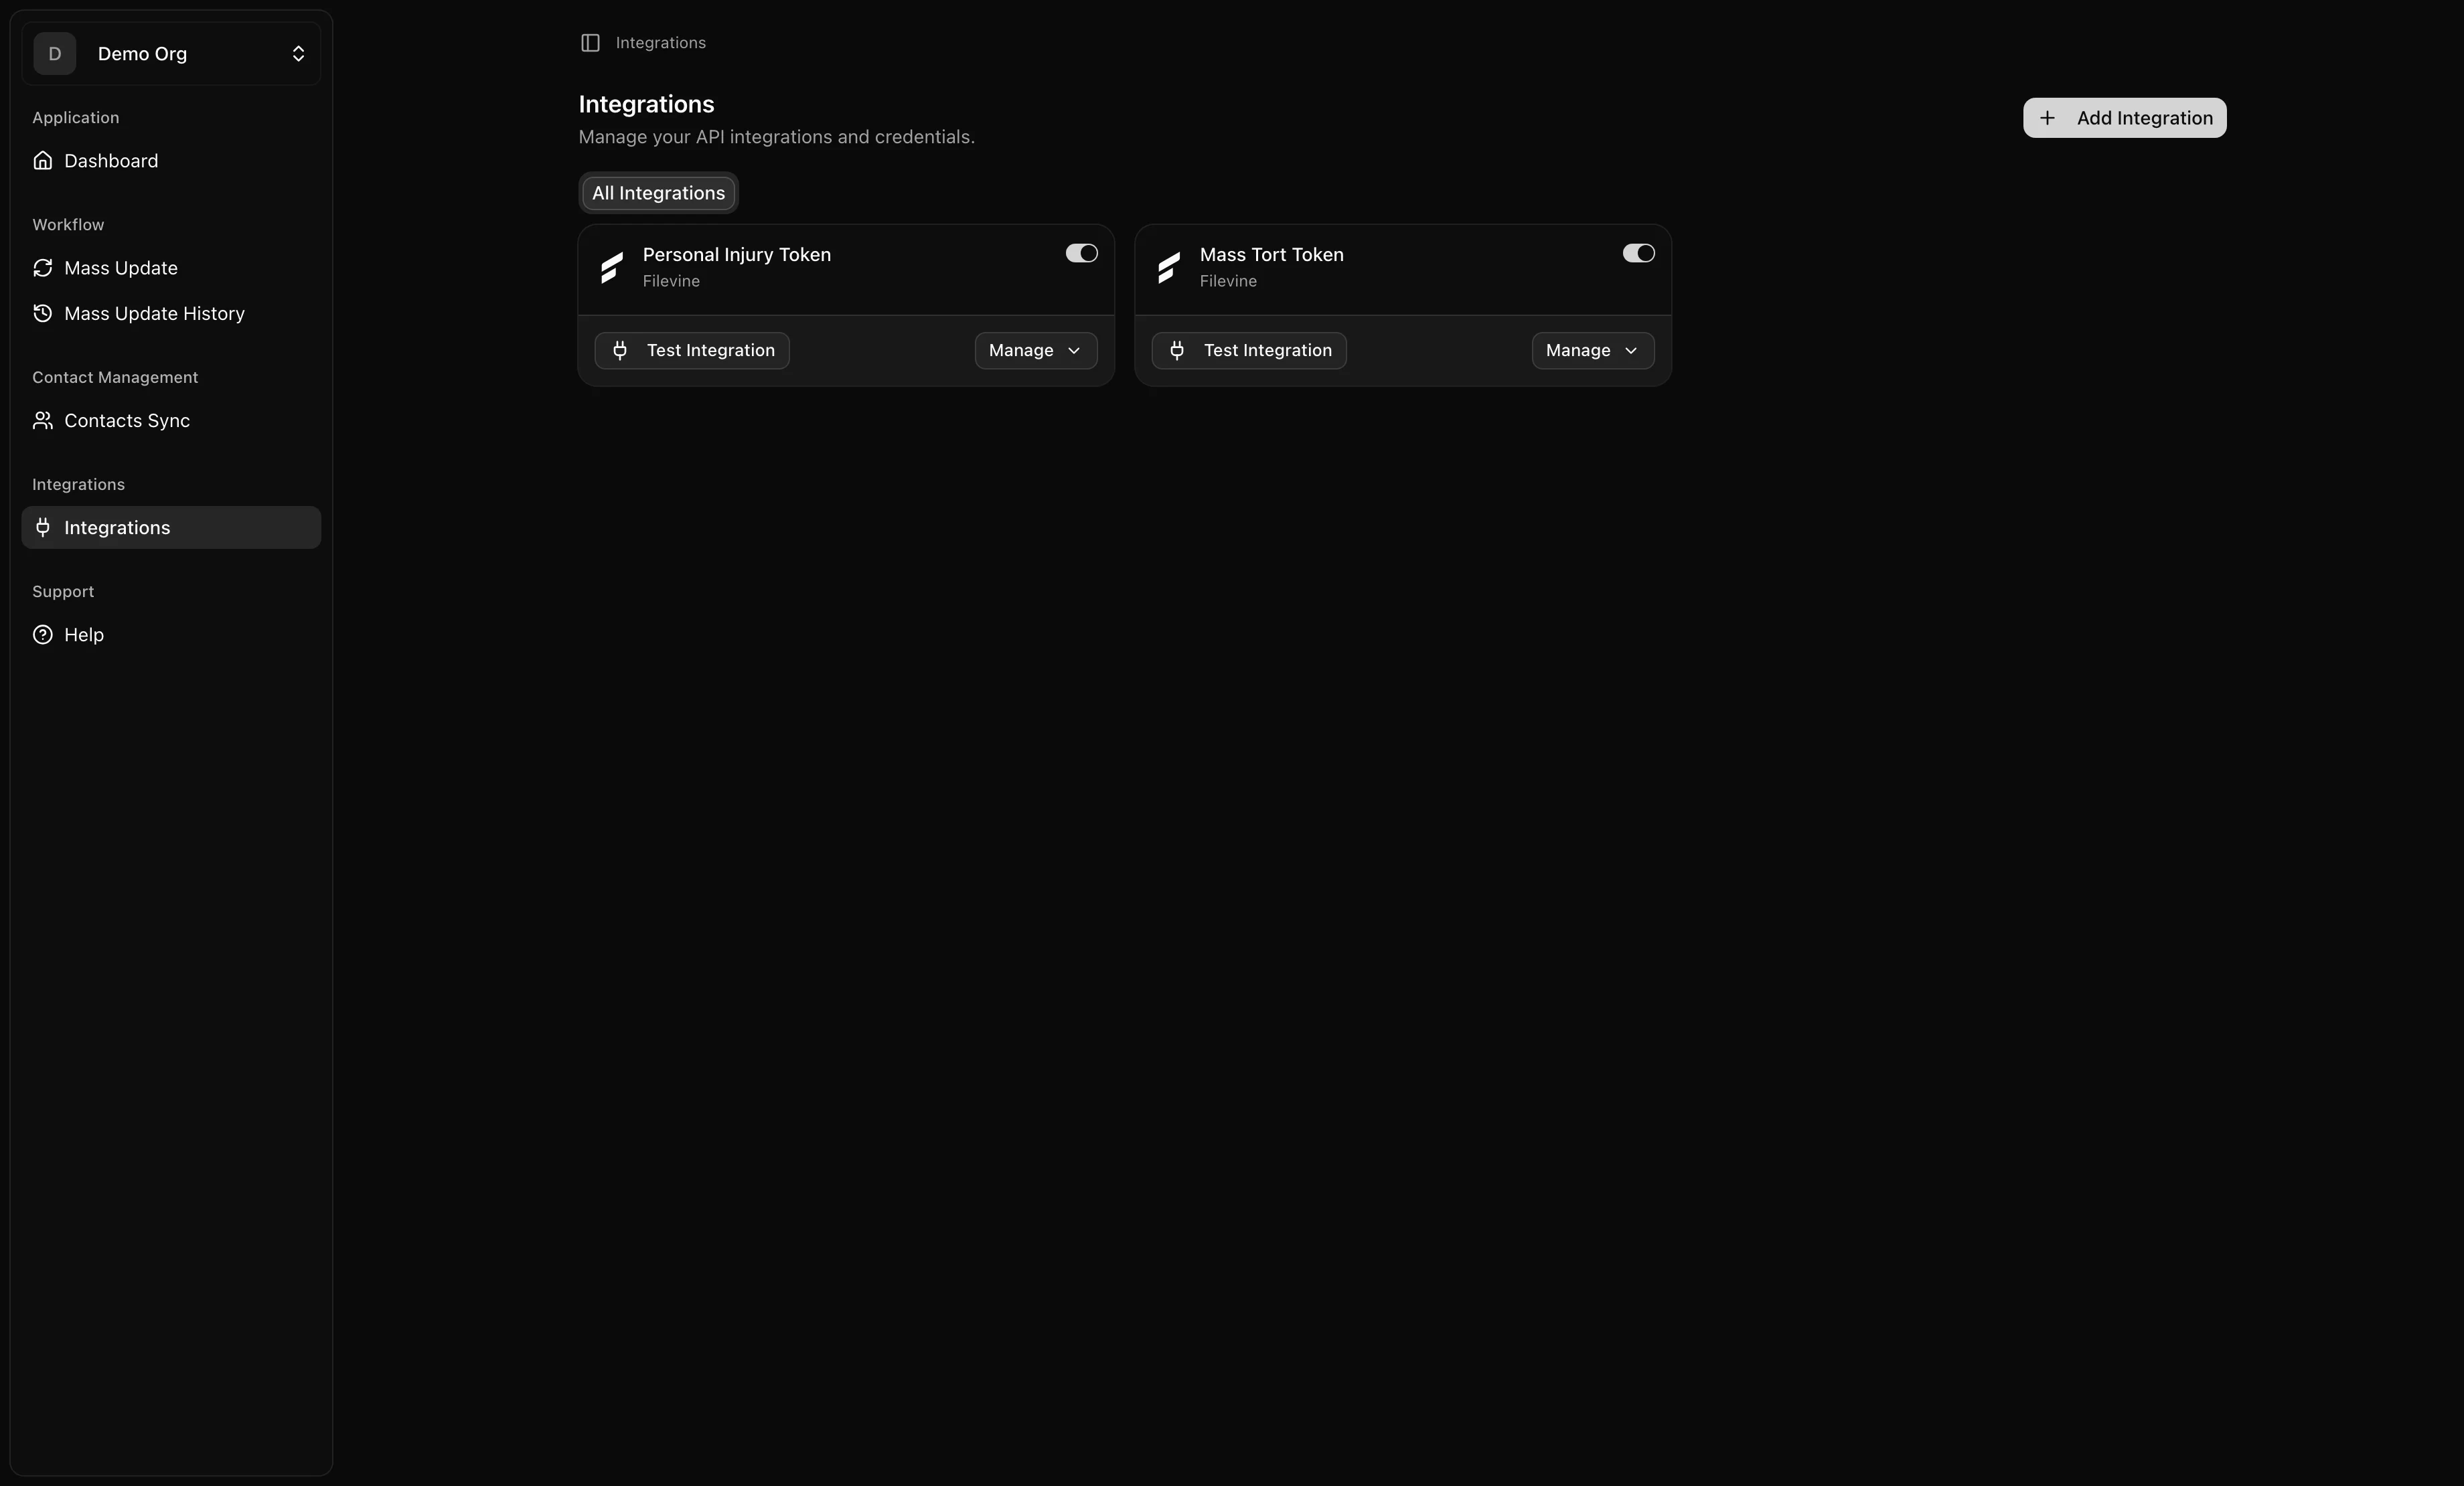
3. Open the Add Credential dialog
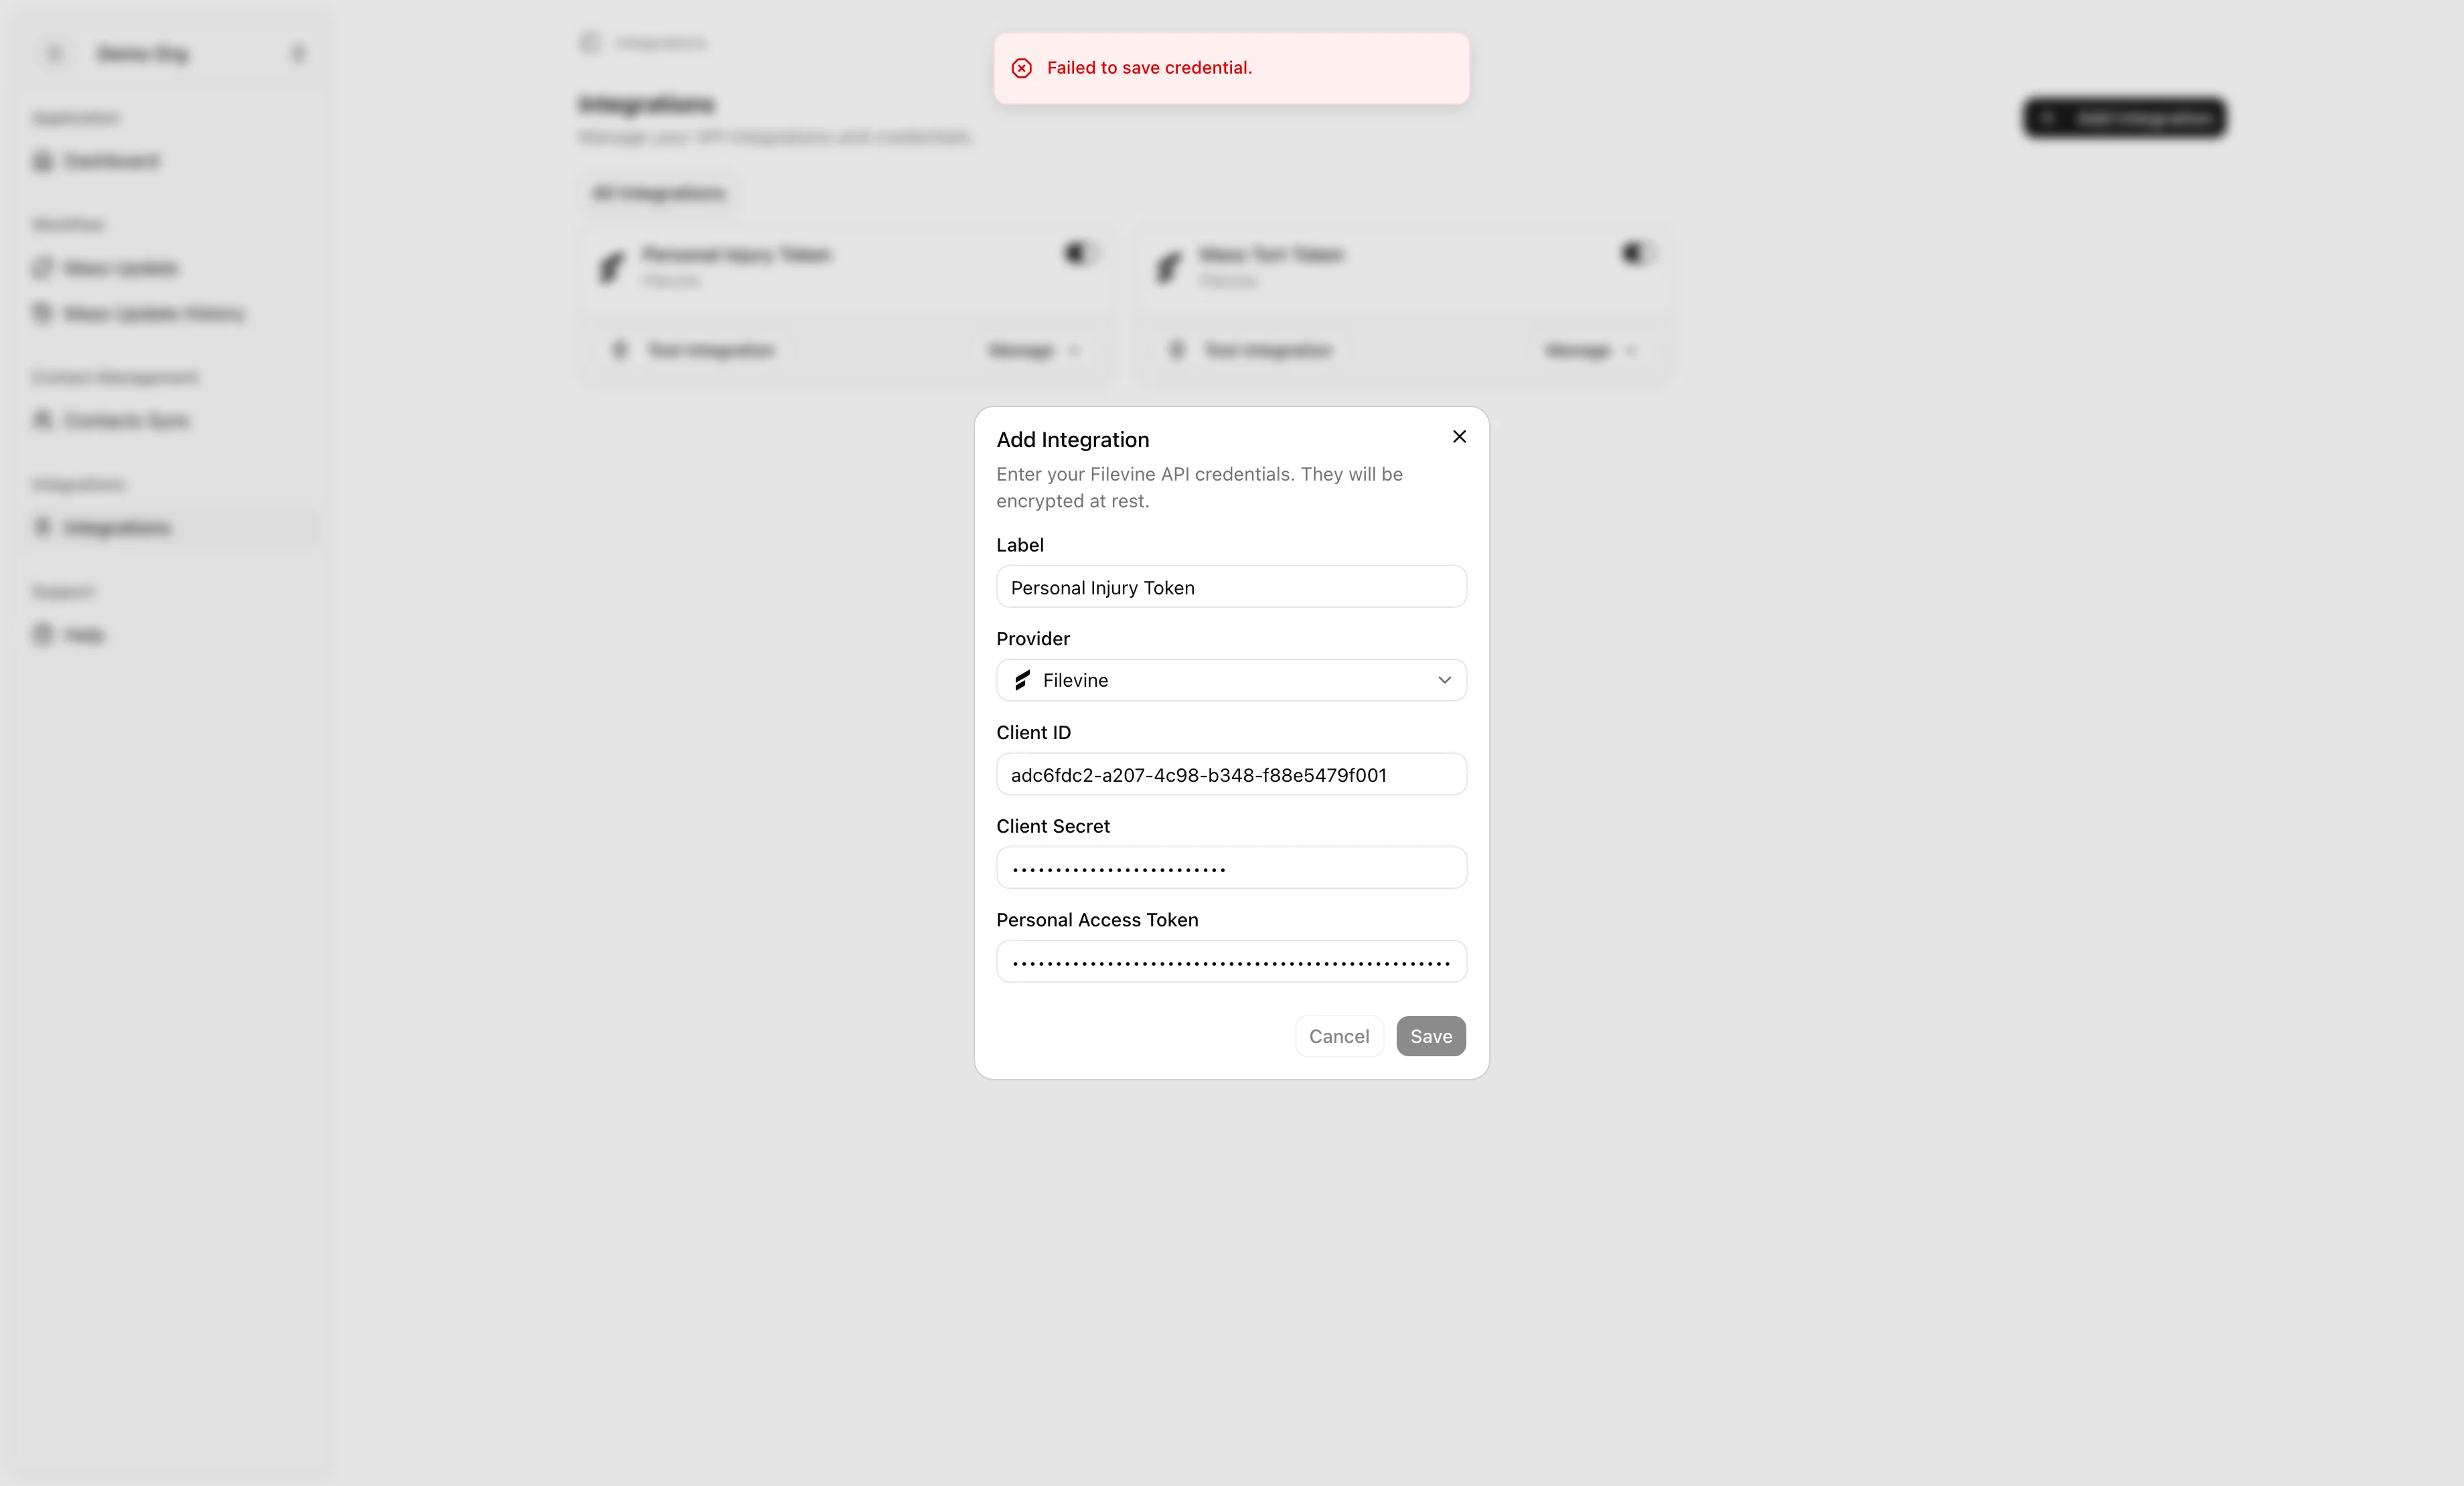
Click Add Integration (or Create your first integration on an empty page). The Add Credential dialog opens with the helper text "Enter your Filevine API credentials. They will be encrypted at rest."
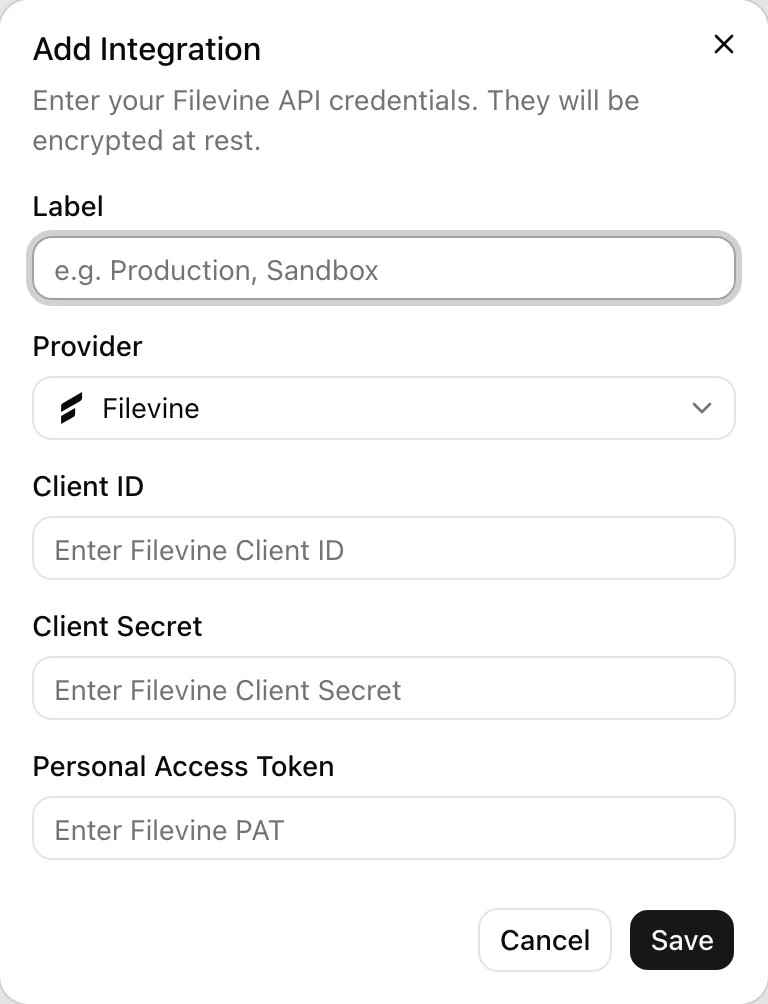
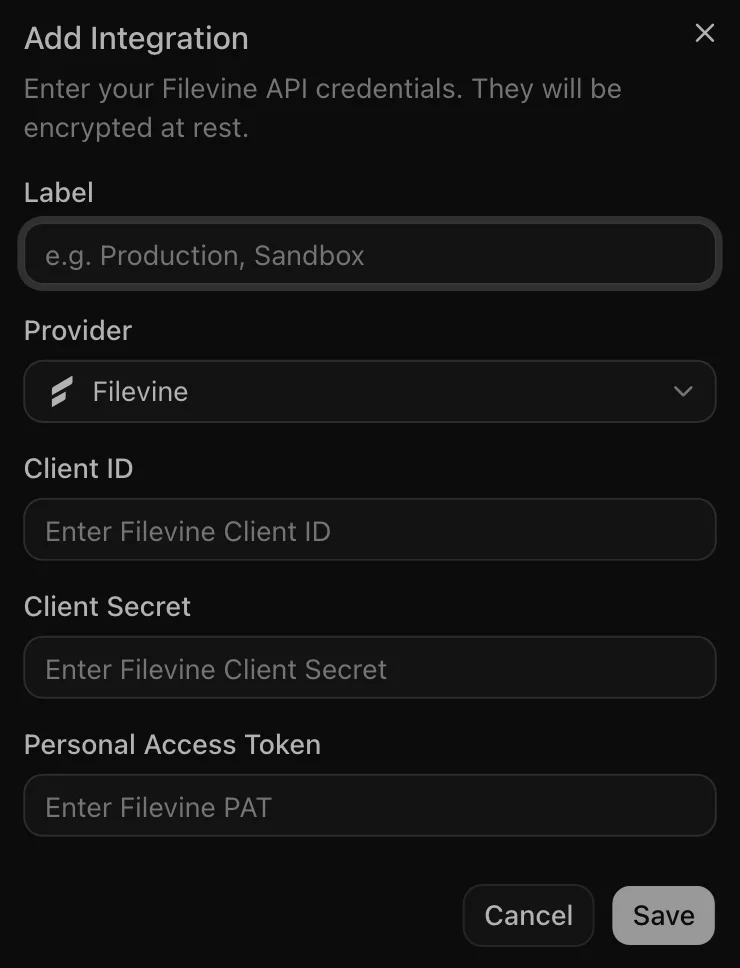
4. Fill in each field
Work top to bottom:
- Label — a friendly name (placeholder: e.g. Production, Sandbox). Most firms use the Filevine environment name.
- Provider — leave set to Filevine. (Filevine is the only provider today; the dropdown exists for future integrations.)
- Client ID — paste from Filevine.
- Client Secret — paste from Filevine. The field is masked.
- Personal Access Token — paste the PAT. Also masked.
5. Save
Click Save. While VineMerge processes the request, you'll see a "Saving and validating credentials..." indicator. Behind the scenes, VineMerge encrypts your secrets at rest, then makes a test call to Filevine to confirm the values actually work.
6. Read the result
One of three things happens:
- Success. A green toast — "Credential saved and verified successfully." — confirms the credential is stored and VineMerge can talk to Filevine. Ready to use.
- Saved, but validation failed. A warning toast — "Credential saved, but validation failed." — means VineMerge stored your values, but the test call to Filevine was rejected. The toast includes a short error from Filevine. The credential is not usable yet: open it with Edit Credential, double-check each value (a stray space at the start or end of the PAT is a common cause), and re-save.
- Server error. A red toast — "Failed to save credential." — means the request never made it through. Try again; if it keeps failing, check your connection or contact support.

Next steps
With a verified credential in place, you're ready to scope which Filevine projects VineMerge will touch in each workflow. Continue with Choosing Filevine projects in workflows.